
When one at a time our families came over, we began noticing we didn't have enough chairs. Then, on New Years Eve, when everyone came together, it was painfully obvious.
 Time for a chair chase! Little did I know how much work I was in for...
I went to a great thrift store nearby that exists to offer jobs to special needs adults. They always have the most amazing stuff, and the staff is wonderful.
The last one of a set, this chair was reduced to $14.99, so I snapped it up. It was loose and rickety...but a few nails should remedy that, right? WRONG.
You can't nail a chair together. It has to be glued.
So, I stopped there. You see, the beauty of chalk paint is no prep. This was going to be a lot of prep. Not what I bargained for...well, maybe. But, I plead inexperience!
Then like, a week later, I thought. OK. Let's do this.
I took it completely apart, sanded the joints to remove old paint and glue. (NOTE: label each of the joints by number with masking tape before taking it apart or you will be sorry!)

I discovered that what I had thought was some hybrid of baby food and 70s olive-mustard was really just a worn out gold. Too bad, so sad.

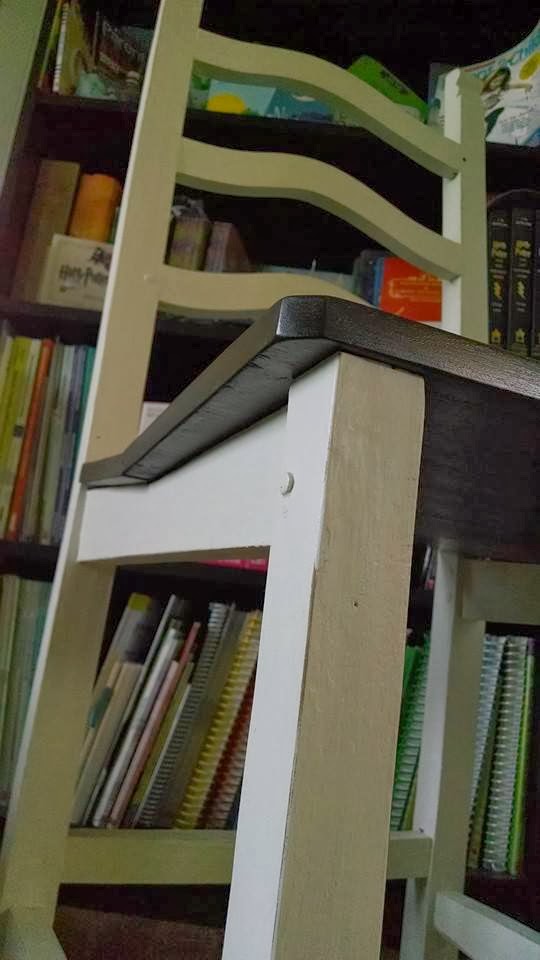
Then I painted the frame with the same homemade off-white chalk paint (aka plaster paint) as before. Distressed w/220 grit; finished with wax.

I had to reconstruct the upper right top because it had been damaged somewhere long ago. I used a vinyl spackle and sanded it down lightly after it dried, to match the other side. You can't even tell! Shocked, this one was.

I wanted to stain the seat, so I stripped it (YUCK what a MESS) and sanded it until it shone...and under all that was a beautiful maple with excellent grain flow and just tons of exquisite pink tones. Who would paint such a gorgeous chair!?
And then I stained it. LoL


A few coats of wipe-on poly, a few shots with the nail gun to attach the seat, and voila! Gorgeous, solid, sound, hardwood chair.
- Stripping is a monster. I used a spray-on stripper. Next time (if there is one...) trying Citrustrip, as recommended by 5 out of 6 furniture bloggers. ;)
- Only buy sound, solid furniture. Rickety, shaky stuff is only worth the discount if it's really really beautiful and really really cheap...which it so happens this turned out to be. *Phew!*
- Chairs are tough. They have tons of crevices, corners, angles, and surfaces. They take a long time. You will think of them as your children by the time it's done. Undertake only in times of necessity.
- Inspect all surfaces. What may look nice and smooth from 2-3 feet away may be hiding very rough edges you have to sand a lot. Not a deal-breaker, but definitely a note-to-self.


